April Stay Home - Free Designer for a Day (Vol. 6)

Hello, Happy Friday and Happy May!

It’s May, guys. It’s May. Just taking that in for a minute…whew.

Okay, moving on. First, we want to give you a quick update on some of the projects we’ve been working on through this crazy pandemic/virtual/uncertain time. We are business as not-usual on several projects that began before the Stay Home order and also starting several new projects in a fully virtual capacity. The biggest change has been no Install Day and no photography. So…come fall (fingers crossed), we’re going to have a lot to share. For now, our Instagram stories are the best way to see all the happenings with our ongoing projects - we’re nearly done with a Poker Room (wallpaper is hung, finishing touches on the wet bar happening this week) and we’re rounding the corner on a huge kitchen renovation.

For today’s edition of “Free Designer for a Day”, we’re tackling a living room. So many people are sitting in their living rooms…day after day…thinking of all the big and small changes they want to make. And we get it, we’re in our living rooms too…thinking of all changes we want to make too. The beauty of a living room transformation is that you can go all in - repaint, new light fixtures, new window treatments and all new furniture - or you can make just a handful of key updates and still get a major transformation.

Now, the question from an incredibly sweet follower (she sent us the nicest email):

Question - I have attached pictures of my very dated living room.  I am looking for a more relaxed feeling.  My main concern is furniture placement.  Would a sectional work in this room? We are empty nesters and I want the room to be inviting. The wall across from the fireplace measures 9 ft. 10 inches.  I would love any ideas you two might have.  Thank you so much for the opportunity.

Gray Oak Studio - Living Room Transformation
Gray Oak Studio - Update living room
Gray Oak Studio - Living Room Update

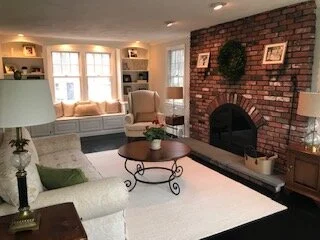
First, this is a gorgeous space. We love the window seat and the built-in bookshelves. There are so many windows letting in a ton of natural light. And, the wall color is great, the perfect neutral foundation.

So, what do we want to change:

1) Add recessed lighting and a center light fixture - The existing ceiling lights feature specific elements of the room (fireplace and built-in bookshelves) and don’t adequately illuminate the room. There should be recessed lights across the ceiling, all on dimmer switches.

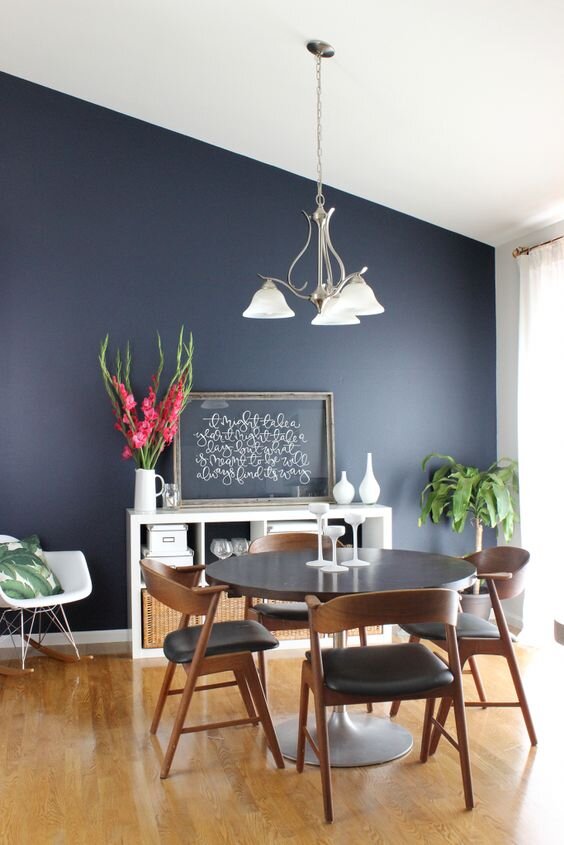
2) Update the Fireplace - We love the texture and vibe of vintage/historic brick (1800s) when it’s in the right context. But, in this case (and when it comes to most mid-century brick: 1940’s and later), we recommend it be painted. White or gray would be beautiful. Dark gray is a more modern look, white is softer and timeless.

3) Window Treatments - Based on the fact that there are no window treatments in this room, our guess is that none of these windows are street facing and/or there’s plenty of privacy coverage from outside landscaping. With that being said, window treatments are not needed. But, they can be a powerful weight on the aesthetic side of the home design scale (versus the function side). Adding fabric treatments will complete the space beautifully. More on this in a minute.

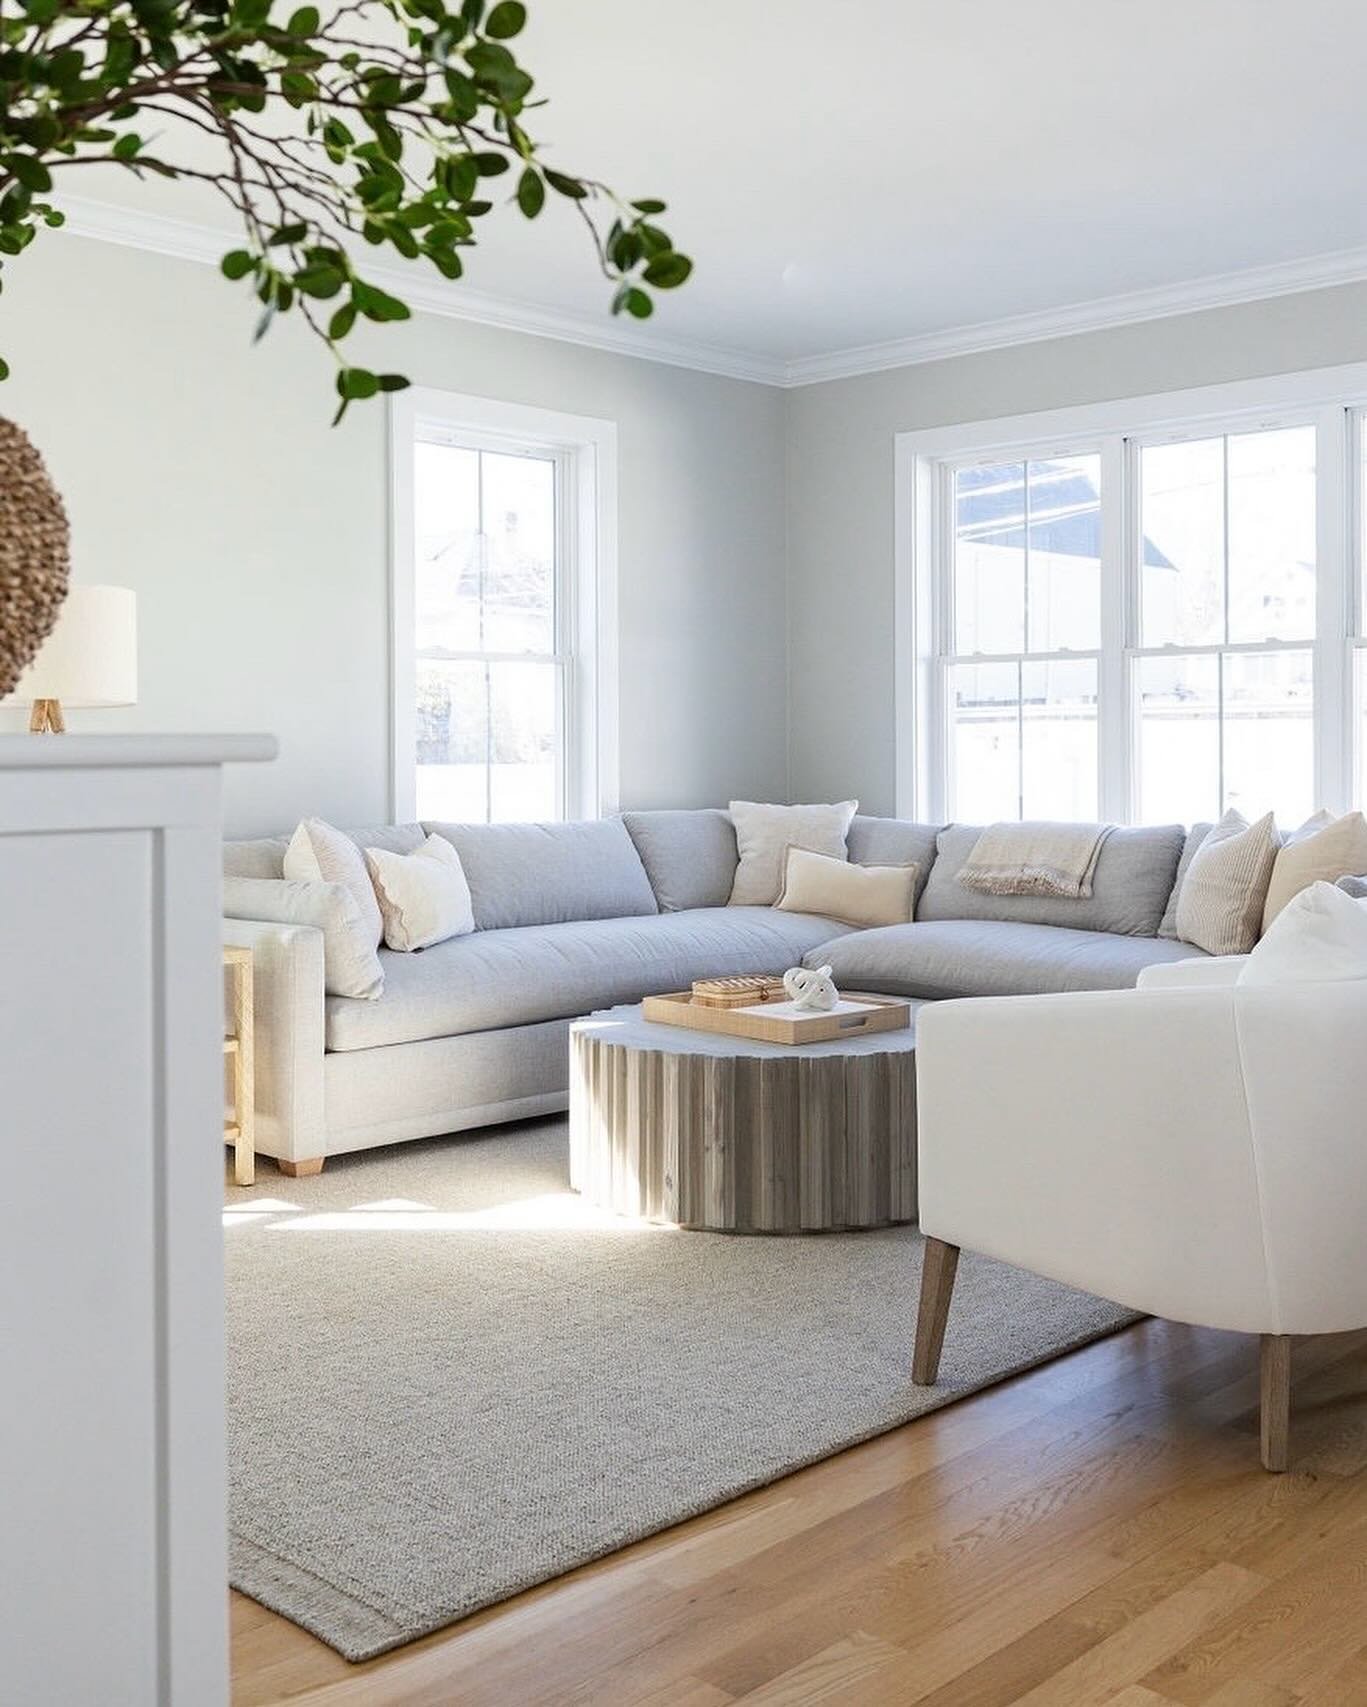
4) New Furniture - We have lot of general ideas and specific suggestions for updating all the furniture. Unfortunately, we do not think this is the right room for a sectional. It will close it off too much. Whomp, whomp. BUT, we do think there is room for additional casual seating. And the “casual” feeling that we all crave as we continue to hunker down in our homes and as home design trends in general lean more casual and approachable, can be accomplished without a sectional or really any major purchase. Casual is about clean lines (less ornate), soft fabrics (layered throw blankets and chunky knit pillows) and nature (wood tones, plants, woven baskets, etc.).

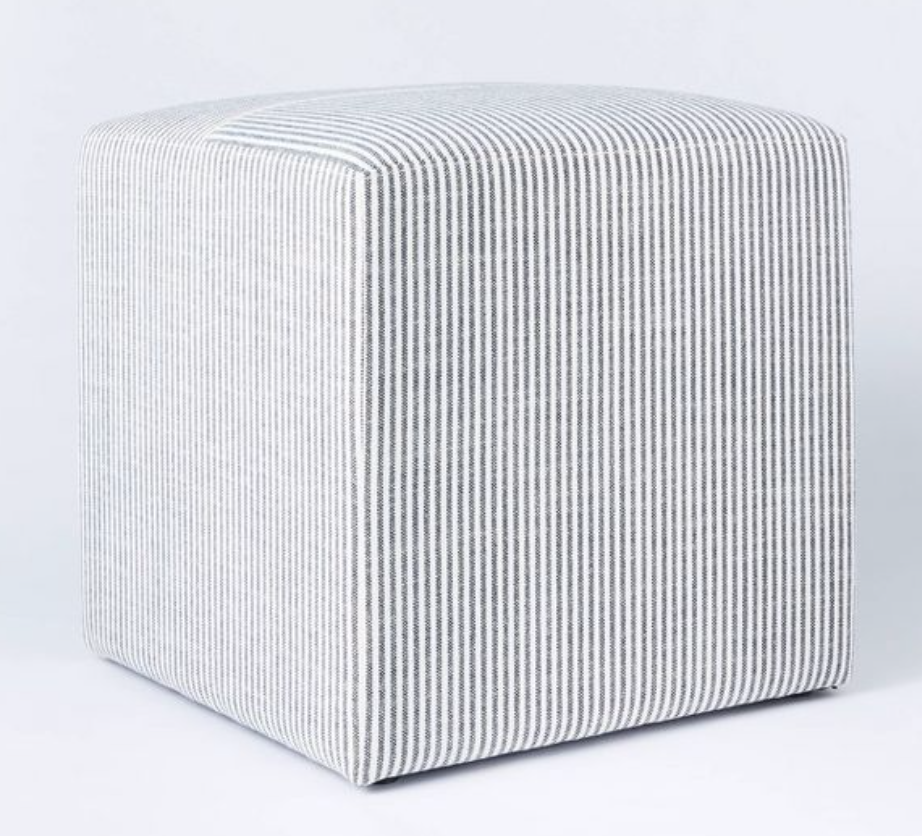
Okay, let’s talk about layout. The homeowner has a great layout in place - we have just a couple small tweaks. First, add some poufs instead of the chair in front of the built-in bench. A set of two matching poufs would be great to either kick your feet up while sitting on the bench or to pull over to the sofa for additional seating. They’ll also add a casual feel for to the space, upping the cozy factor.

 
Gray Oak Studio - Add Two Poufs for function
 

Here are a couple beautiful options:

Option 1 - A woven cylinder. These are so classic and work with just about any style (Farmhouse, Boho, Transitional, etc.). They retail for $180 but are on a mega sale right now ($120).

Gray Oak Studio - Pouf Ottoman for living room transformation
 

Option 2 - This white and blue ticking fabric is also timeless. The square shape is a little more modern, but again works with just about any style. They retail for $89.

Gray Oak Studio - Pouf option for living room
 

Option 3 - These canvas poufs come in 3 colors and are sold individually ($99) or in sets of 2 ($195). We love the soft canvas and bright blue color.

Gray Oak Studio - Blue Canvas Pouf
 

One more sorta/kinda layout mention. This room reminds us a bit of our Lovell Project because the sofa is best placed between two case openings. In order to maximize the size of the sofa, it’s nice to minimize (or altogether skip) the side tables and use wall sconces for task lighting.

Gray Oak Studio - Lovell Project - Sconces for Task Lighting

Ok, finally, our mood board and all the sources!

Gray Oak Studio - Updated Living Room

Sofa - Price varies by fabric choice

Coffee table - $1,000

Accent Chairs (to flank console table) - $450

Console table - $329

Rug - Price varies by size
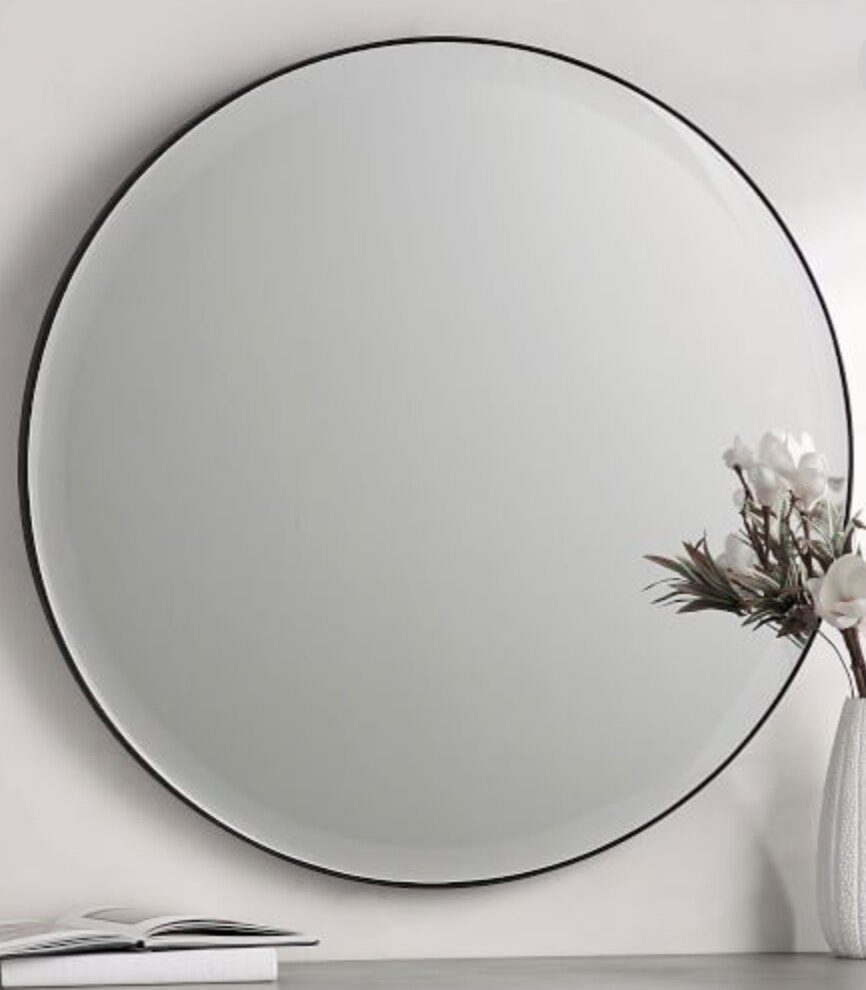
Mirror - $80

Flushmount Light Fixture - $70

Floor Lamp - $110

Wild Blossom Art - $17

Pillow (shown on accent chair) - $22

Pillow (shown on sofa) - $17

Blanket (shown on sofa) - $66

Basket - $50

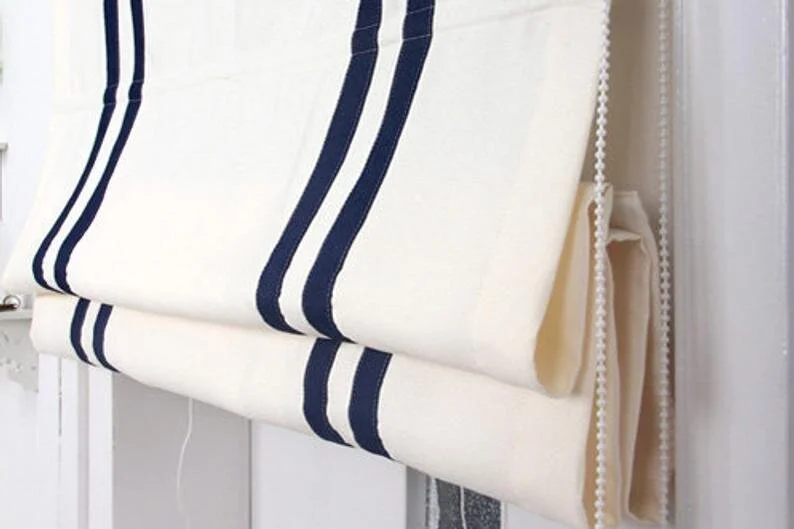
Finally, let’s talk window treatments. If she wants to add treatments, we recommend ivory linen drapes for the triple window behind the console table. Head to our prior post (Vol. 1) for options on drapes and drapery hardware. For all other windows (flanking the fireplace and above the built-in bench), we like fabric roman shades. The fabric could also be a plain ivory linen or ivory linen with an accent stripe (blue or gray). Here is the source.

Gray Oak Studio - Accent Stripe Linen Roman Shade
Gray+Oak+Studio+-+Linen+Accent+Roman+Shade

But wait, we have more! It’s like a home design game show and we’re giving it ALL away. We couldn’t help but come up with extra sources for this project - alternative mirror, rug, art, etc. Head to our Pinterest page to see and shop those extra options.

Even thought it’s no longer April (and we’re no longer accepting submissions for “Free Designer for a Day” advice), we still have quite a few submissions that we WILL address. So, more transformation advice to come throughout May. Let’s keep this party going.

- Leah

*This post contains affiliate links*


April Stay Home - Free Designer for a Day (Vol. 5)

Today we’re answering a fun question about creating a guest room space in a beach house. Pretty dreamy task.

Question - I am trying to pull together a design plan for a guest bedroom. We live on the beach so I would like to keep the style casual and have a little fun in this occasionally used space. At the same time, I do not want it to look juvenile. Do you think the Mare Wave Wallpaper in GRAY would work well as an accent? ( I know you have used it in NAVY in your #GOSProspectProject

If YES, can I paper two walls, one behind the bed and the adjoining wall so that you would see it as you enter the room. Other walls are BM White Dove with cream berber carpet and bamboo roman shades. Any other advice on art, lighting, area rug to go in this space to keep it casual but not child like?

Let’s dive right into the photos so you can understand the space.

Gray Oak Studio - Guest Bedroom Transformation
Gray Oak Studio - Designer for a Day

And here are the specific walls she is interested in installing wallpaper.

Gray Oak Studio - Wallpaper Attic Bedroom
Gray Oak Studio - Wallpaper in Guest Bedroom

We say yes to both walls…and yes to the rest of the walls too. We recommend she go ALL. IN. This is a small room with lots of unique angles and it can totally handle wallpaper…everywhere. Wallpapered eves are awesome.

Below are some amazing inspirational spaces.

And now…our plan. First, the layout. It’s always best to have the bed facing the doorway, so you can see the door opening when lying in bed. (Here’s a great Feng Shui guide for the bedroom). It doesn’t look like there’s enough room to fit a headboard in the nook (that would be ideal - even if it means blocking the built-in bookcase), but there might be enough space on the wall next to the nook? If it’s not possible here because it blocks the closet, she should block the window on the side of the room and have the bed facing the closet.

Gray Oak Studio - Beach House Wallpaper Project

We picked a “wave” wallpaper in gray (with some blue undertones) that is “peel and stick” - it can be DIYed or installed professionally. And we have more wallpaper options below! The wood tones are light, the palette is washed out and muted. Like the beach itself, the idea is to let the textures run the show and keep the mood serene and calm. A welcoming, relaxed guest room.

Bed - $800

Chair - $300

Round Leather Pouf -$300

Rug- Price varies by size

Light Fixture - $199

Gray Blanket - $50

Body pillow - $10

Lumbar Pillow for Chair -$25

Art - Varies by size and frame choice

Wallpaper - Varies by amount needed

And, because we couldn’t help ourselves, below are more awesome wallpaper options.

Option 1 - We love the neutral on neutral colors and the TEXTURE. This is not a flat paper, but has a woven texture.

Gray Oak Studio - Beach House Wallpaper Option
 

Option 2 - This is a bit more modern and graphic. We love the muted blue color.

Gray+Oak+Studio+-+Blue+Leaf+Wallpaper+for+Beach+House
 

Option 3 - We love the moodiness of this pattern and the color is a bit more saturated than the others, which would give the whole space more color to contrast the otherwise neutral palette.

Gray Oak Studio - Beach House Wallpaper Wave
 

We hope she sends us follow-up photos of how it all comes together!

- Leah

*this post contains affiliate links*

April Stay Home - Free Designer for a Day (Vol. 4)

We’re back to answer more home design questions. We’ve been having so much fun reading your submissions and seeing your photos and puzzling over some virtual solutions. Today we’re tackling hardwood floor question and an asymmetrically vaulted ceiling.

Question - How do you choose the perfect color stain for hardwood floors?

This is a no-one-size-fits-all answer. There are a lot of considerations when picking a hardwood floor and each consideration impacts the stain choice.

  • Species of wood (Yellow Pine, White Oak, Brazilian Cherry, etc.)

  • New hardwood versus refinished (old) hardwood

  • Width of the planks

  • Direction of planks (across, up/down, diagonal, with a border, etc.)

  • Stain

  • Finish (the type of coating that goes over the stain to seal and protect)

Each of these considerations has many options and the interplay of each option makes for a very different end result. Here are a few general tips:

Dark versus Light Stain - From a function standpoint, dark floors show more lint, dust and fuzz. They tend to need more maintenance to appear clean (like a black car). If you’re a dog owner with tons of light-colored tiny dog hairs floating around your home, dark wood might drive you crazy as you’ll see those tiny hairs settling everywhere hours after you vacuum.

Grain of the Wood - If you want to see the natural grain of the wood, we recommend a medium-to-light finish. On the other hand, if you want a super sleek and contemporary look, a darker stain hides some of the grain and creates a more uniform look.

Direction of Plank - Choose a plank direction that allows the planks to remain as long as possible. This creates the feel of a bigger, more expansive space. If you have existing hardwood, it’s nice to match the direction of the existing planks. This way your new floors feel well incorporated into the original footprint - all one, intentional plan.

Make a Sample - Always test the exact stain on the exact wood. If you’re purchasing new floors, this is easy. Just get a sample of the raw wood and see how it handles different stains. If you’re refinishing your existing floors, you can pick a corner inside a closet or a tiny spot in a room that will ultimately be covered by a piece of furniture or rug. Different species react uniquely to different stains. It’s important to see how the “Dark Walnut” stain reacts on your specific "100 year old pine floors” rather than trust an image in a catalog. If you’re installing factory finished hardwood that comes with the stain and finish, you still want a sample. Place the sample on the floor and see how it reads next to your walls, in low light corners, next to your hard finishes (tile floors, stone fireplace, etc.).

Glossy versus Matte Finish - Matte finish is all the rage at the moment, and for good reason. A matte finish is low/no gloss without any added color and tends to be water based (low/no fumes and more environmentally friendly). A classic, high shine, polyurethane finish will yellow/orange over time and, thus, add a yellow/orange tint to the color of your floor over time. On the other hand, a matte finish is not as durable as a high shine finish. The matte finish will ding and dent more easily and even stain on the rare occasion. If you won’t be comfortable with a more worn, patinated look a matte finish is not for you.

Best Tip We Have (!!!) - Go to your friends and family’s homes (when the Stay Home order is over and it’s safe, of course!), see different choices in person and talk to the homeowner about what they love and what they don’t. Any hard finish choice is going to be a long lasting one (and expensive) so take your time and consider every option, don’t rush it.

Question - How should I deal with my asymmetrically vaulted ceiling? Any suggestions are welcome.

We had a lot of fun coming up with inspiration for this one. As a general recommendation, unique ceiling lines or unusual wall nooks and bumps can be treated in two ways: feature it or hide it. In this case, if she loves the asymmetrical wall she can draw attention to it by applying an interesting finish. If she doesn’t love it as an architectural feature, she can paint the room all one color (walls and ceiling) and let it fade away.

Let’s check out a photo of what we’re working with.

Gray Oak Studio - Designer for a Day - Asymmetrical Vaulted Ceiling

In terms of colors to make it fade - something light and bright. We would add a more substantial baseboard, the height of this room can handle something big and tall. Then paint the walls and ceiling something pale and bright.

Now, if she wants to turn this wall into a feature, we have a bunch of different ideas.

Option 1 - Paint it! This is the quickest, easiest way to highlight the unique lines. Whenever using paint to create an accent wall our general tip is: make it obvious. Don’t go one shade darker or lighter than the adjacent walls. It will end up looking like a shadow or optical illusion, leaving everyone wondering “is that a different color or just the way the sun is hitting it?”. For ideas on some of our favorite dark, saturated paint colors check out Volume 3 of this series - here.

Option 2 - Add a fireplace and surrounding built-in. With this option, the line of the ceiling becomes secondary to the fireplace and built-in. It’s just a cool, interesting bonus. This option will create a beautiful focal point for the room and really elevate the whole feel.

Option 3 - Add board and batten style molding to highlight the interesting angle and expansive height. There are a million online tutorials on how to add DIY this molding and the cost of materials is relatively minimal.

The oversized, round mirror is key to bringing this look together. Here are some good options:

Option 4 - A bookcase. This is a much bigger investment and a much bigger impact. How stunning, right?

We have so many more questions to answer! So stay tuned. And remember to sign up to receive new blog posts straight to your email so you don’t miss anything. AND remember to check out our Pinterest Board that’s dedicated to all our "Free Designer for a Day” advice - it’s full of even more inspirational images and product links related to every question we answer.

- Leah

*this post contains affiliate links*