Gray Oak Gives Back - Fireplace Transformation
/A big, juicy post with all the details of our Gray Oak Gives Back transformation is coming soon. But first we want to dive into the fireplace transformation because this transformation was in and of itself MAJOR. And because so many fellow New Englanders with 1940s/1950s houses have this exact fireplace and have reached out to us asking for the play-by-play.
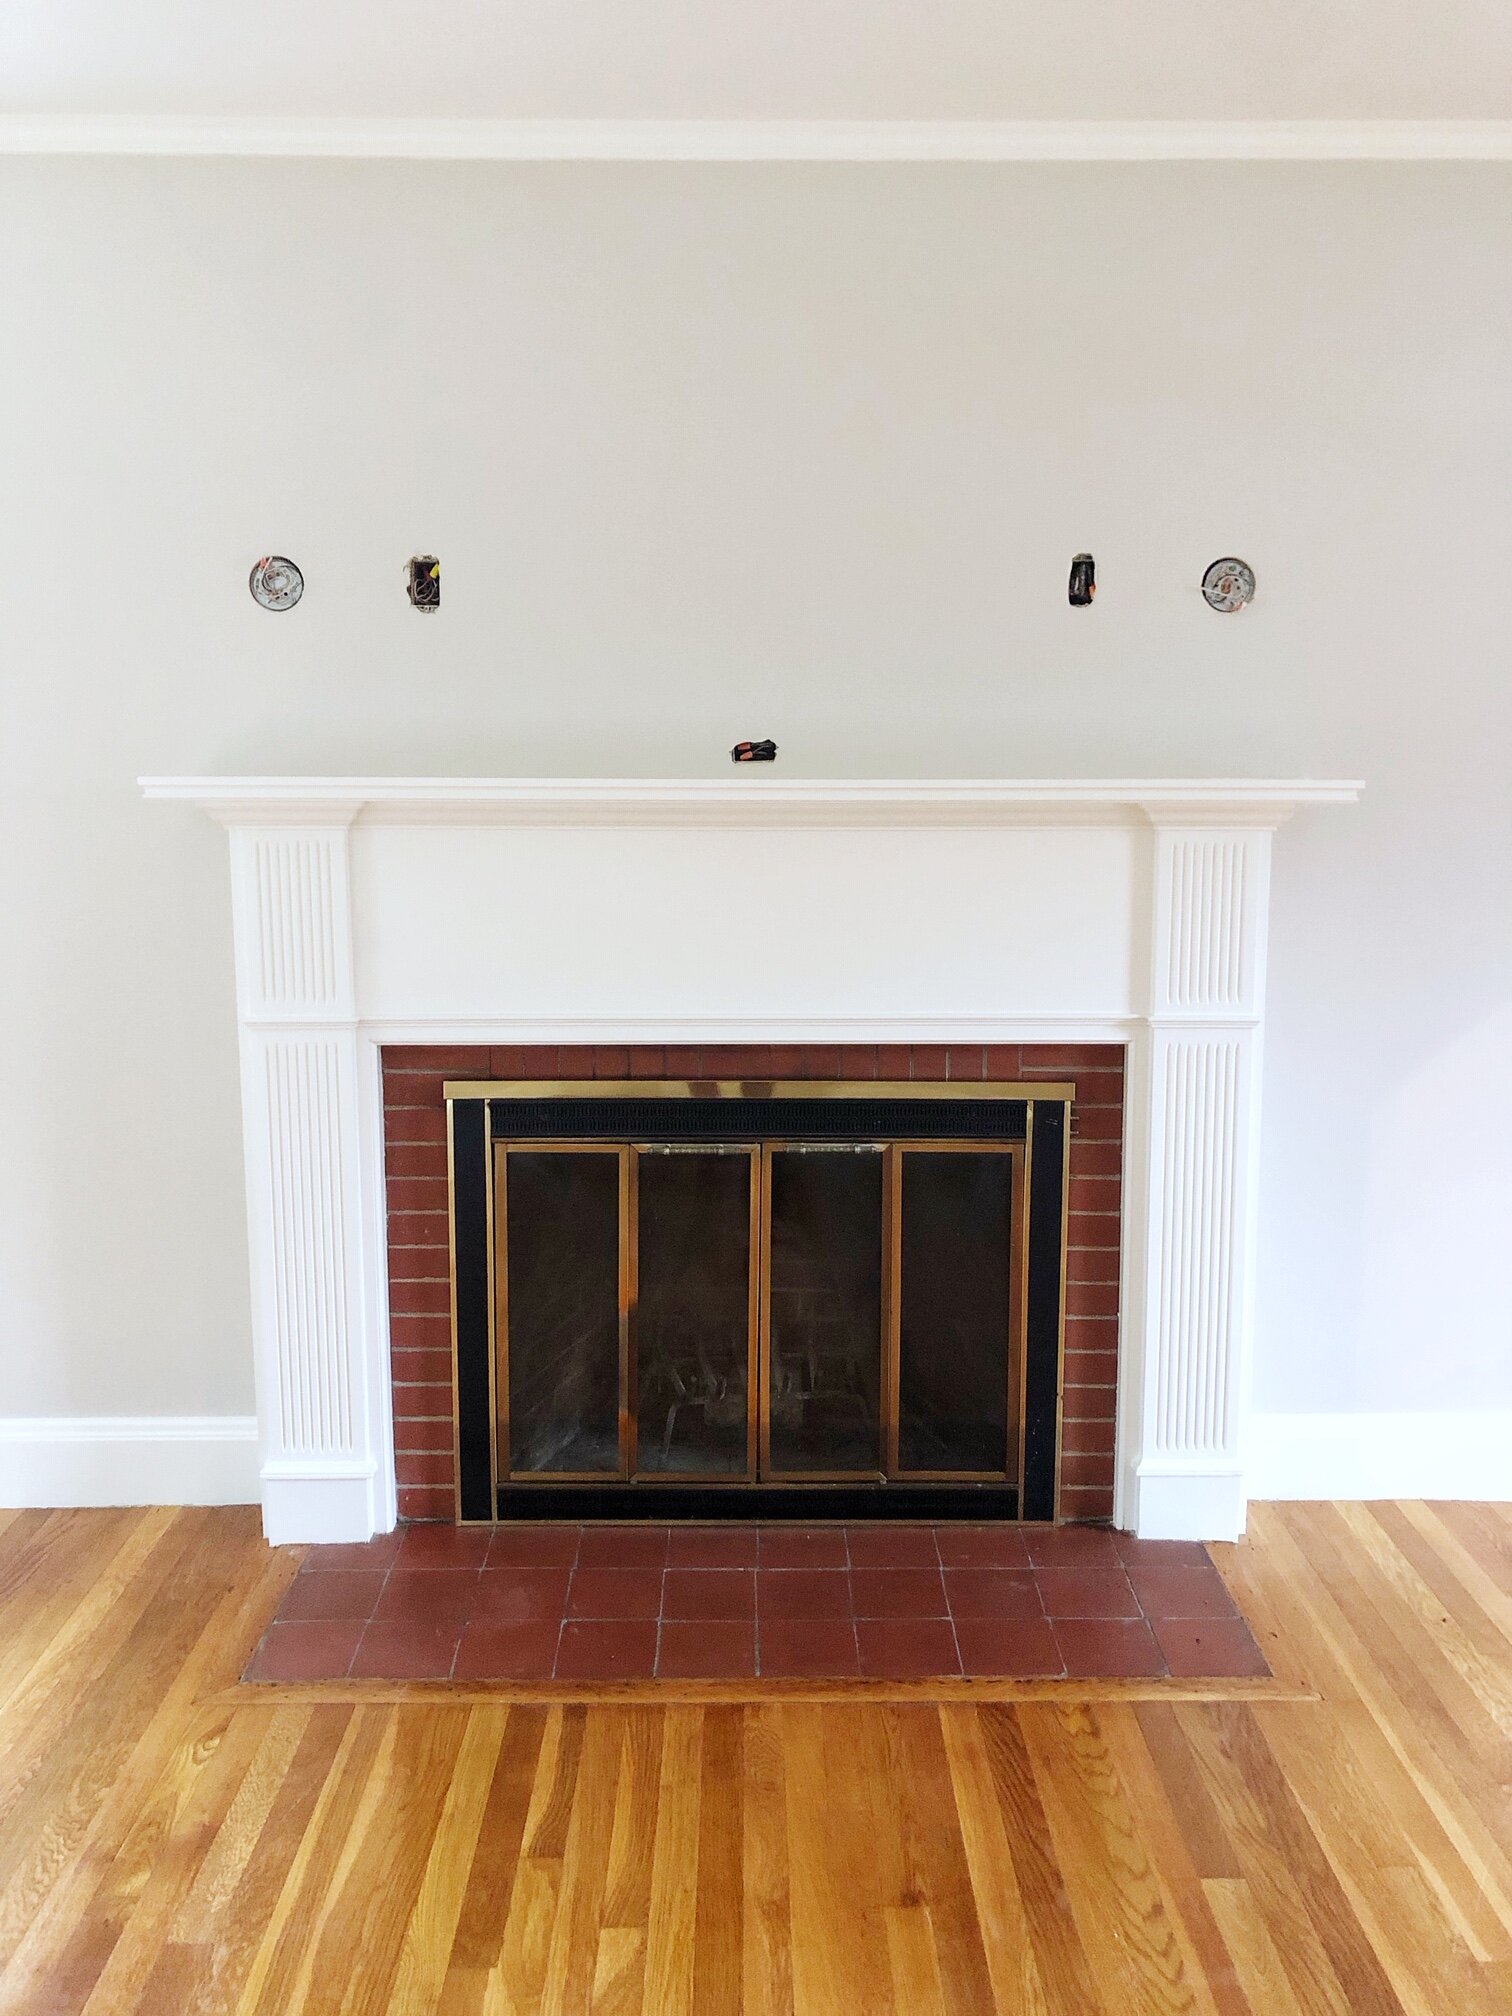
Below is where we started.
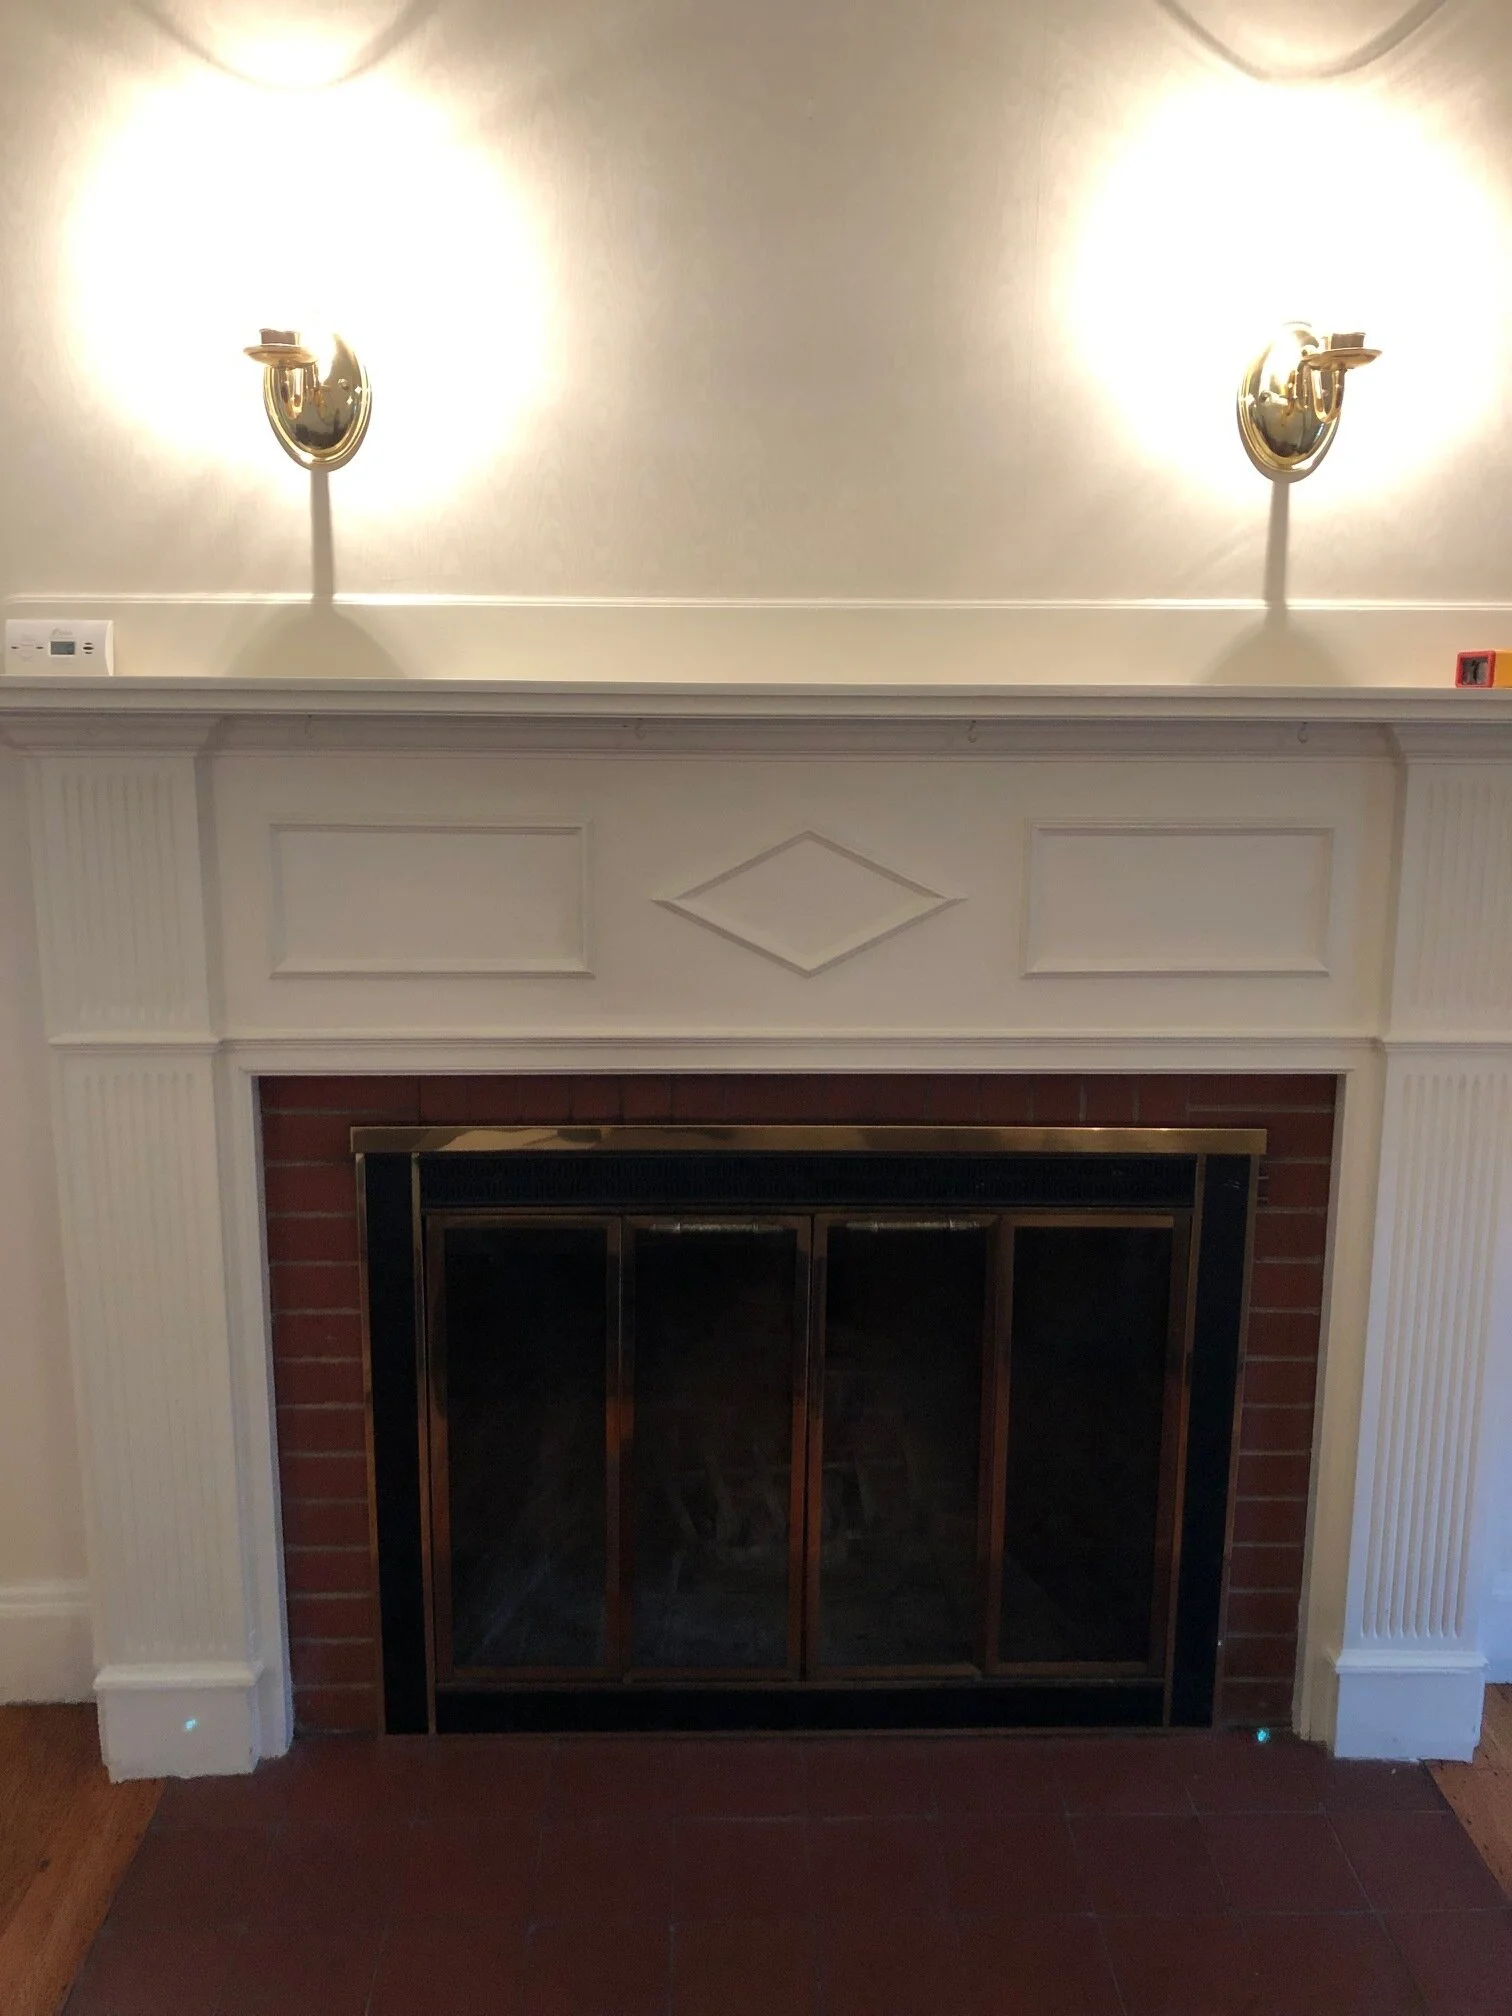
Red brick surround (not the beautiful, vintage kind of brick). Red tile hearth to match. Brass and black bi-fold doors. Decorative molding that looks like an afterthought. Awkwardly close, shiny brass sconces.
Here’s another look for good measure,. You can see the true colors at play.
Our first update was to remove the rectangle and diamond molding on the front top panel of the wood surround. They weren’t quality details and they were dating the entire feel of the surround. Willow Carpentry (who donated their time!) carefully popped them off, then Big Dog Painting (who also donated their time) cleaned up the area by smoothing the ridges where the molding came off, priming and repainting the whole surround.
Next we relocated the sconces - they were just way too close. By separating them we were able to capture the actual width of the mantel and take advantage of the wall space above to create a true focal point in the room. Big thanks to Hanson Electric, who…also donated his time.
So much better already, right?
Next up, we removed the original door. Well, technically, we didn’t do the removing - our client handled that. They need a shoutout for being a very handy duo. From what we heard, it was pretty straight forward. Just taking out a few screws, a push here, a pull there, all set.
Then, we painted the interior of the firebox with a firesafe black paint. Another quick, DIY update.
Up until this point, the changes were relatively simple and budget-friendly, all great DIY updates (minus the electrical work) that created a fantastic update. From here, his transformation is a little less budget-friendly and you definitely want to involve a professional - tile over the brick surround and replace the tile hearth with a stone slab.
But, in order to keep it budget-friendly and within the DIY realm, you could also just paint the brick and tile - we would recommend black. Be sure to ask someone at your local painter for the right paint and the right process. There is likely a special type of paint required that will properly adhere to the brick and tile and maybe a sealant needed to keep it from flaking off.
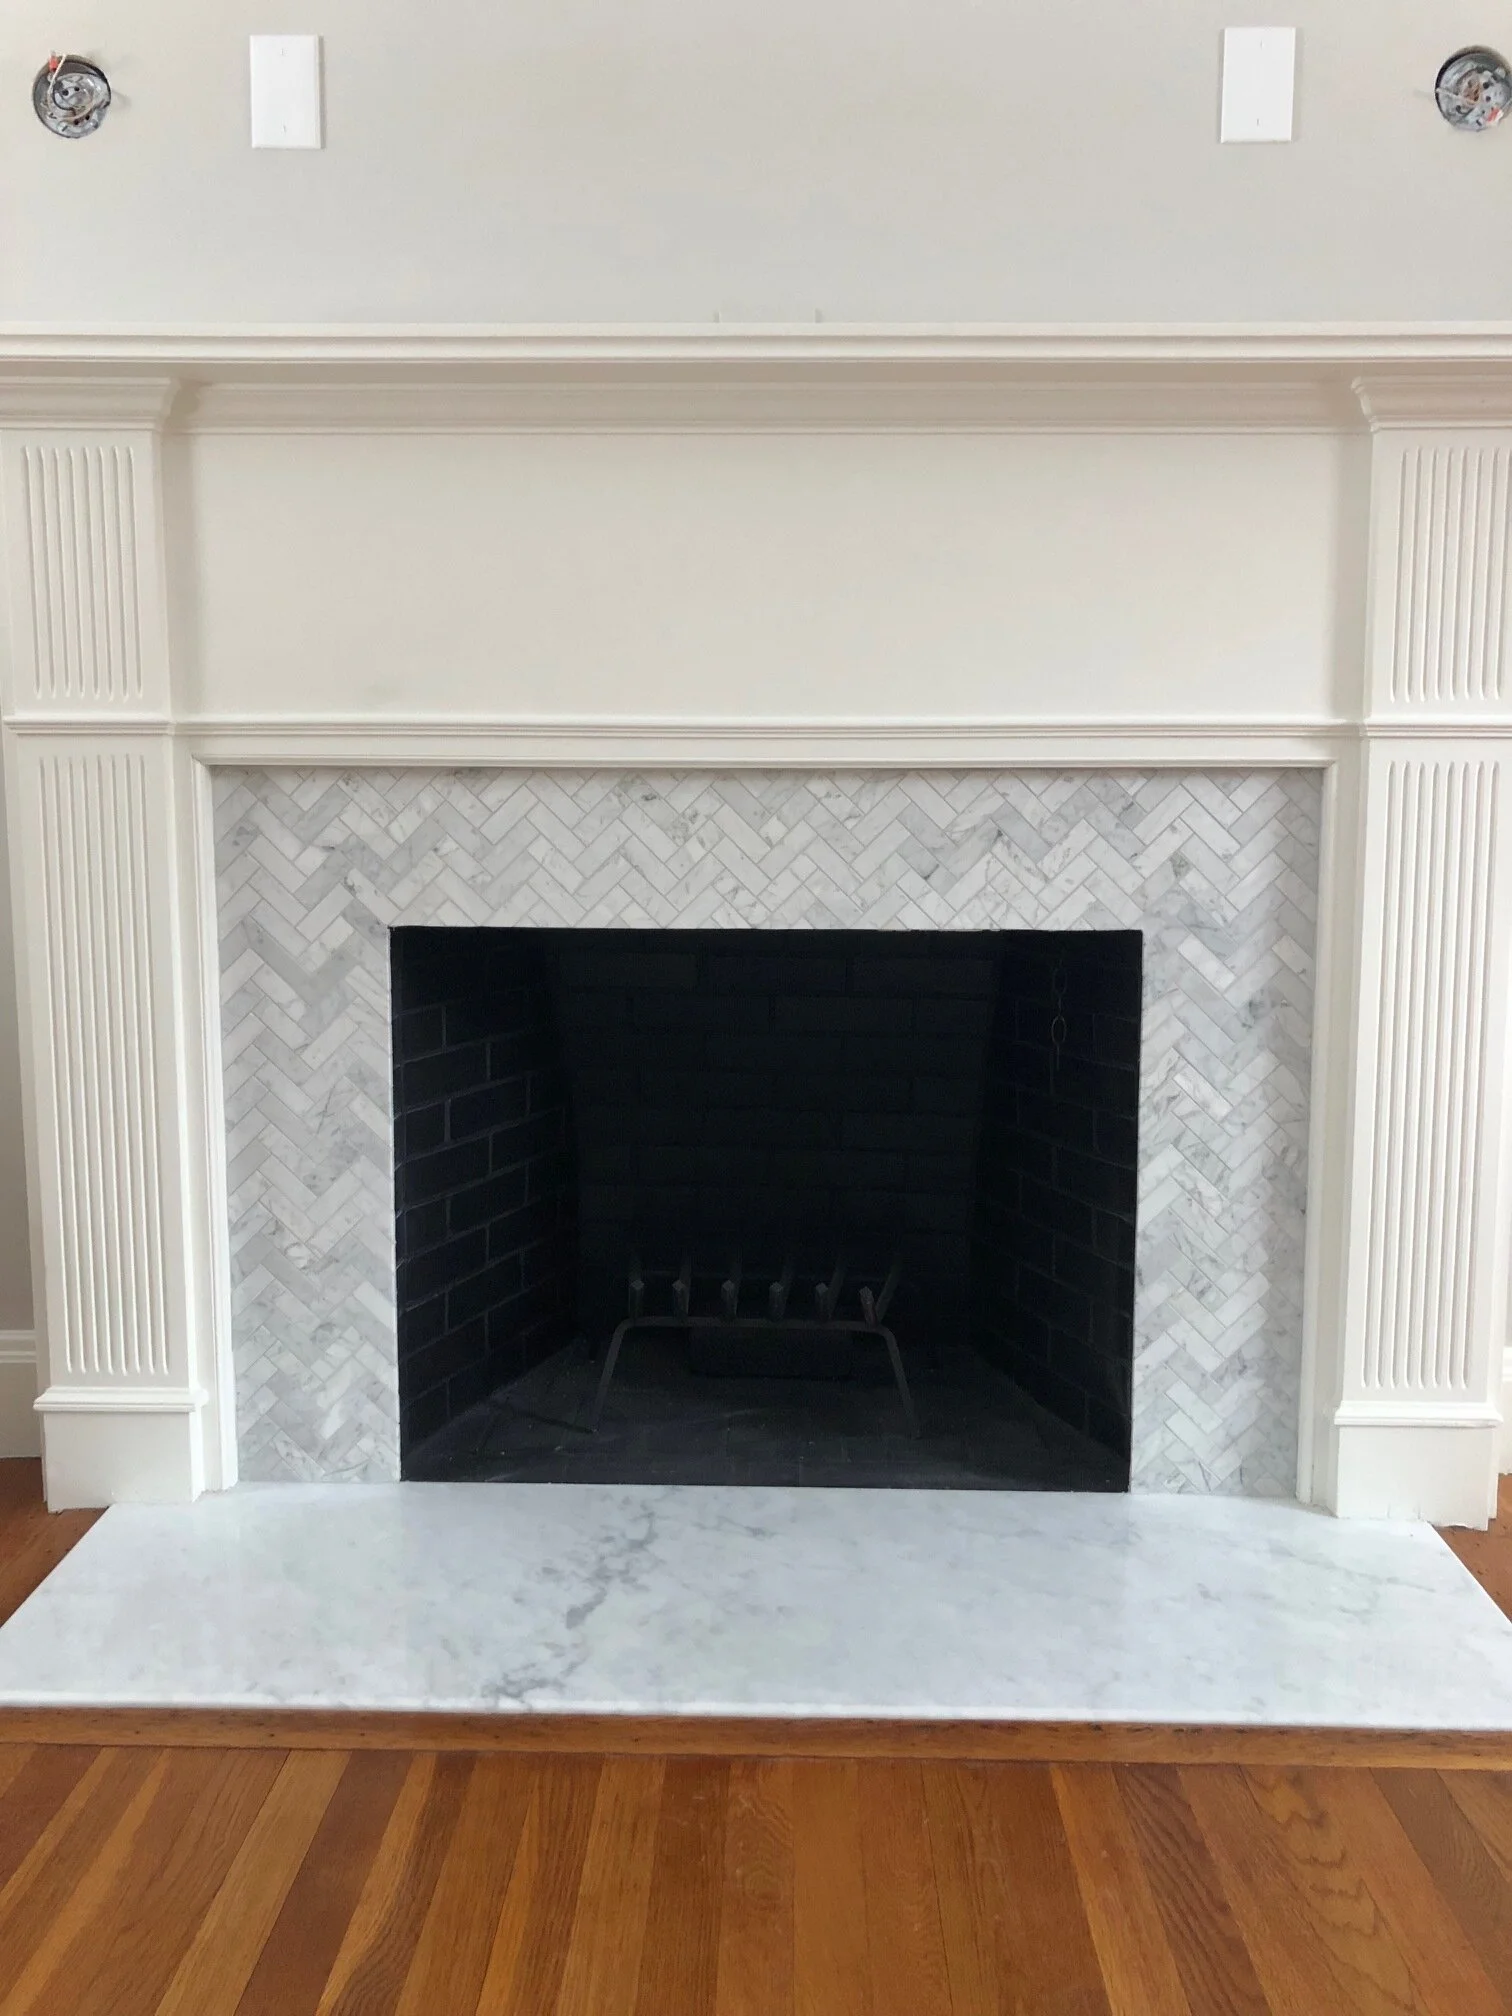
For this special project, we were incredibly lucky to have have Wayfair give us deeply discounted tile for the surround. We chose a small scale marble tile in a herringbone pattern. The contrast of a small scale tile for the surround and a large scale stone slab for the hearth is great choice - it’s balanced in scale and classic. Speaking of the stone slab, Worcester Marble and Granite not only donated the marble slab, but also donated their time to fabricate it (cut it to size and bevel the edges).
One important tip on the installation of a stone slab hearth: You need to consider the thickness of the existing tile you’re removing and the thickness of the new stone slab you’re installing. The average tile is between 3/8” and 1/2” thick. The average stone slab is 3/4” or 1.5” thick. For this project, we removed a 3/8” tile and installed a 3/4” slab and beveled the small edge that raised above the surround wood floor. When removing tile to replace it with a stone slab, the only way to get the stone slab flush to the floor is to demo the mortar/floor beneath the old tile. This is complicated (and significantly more expensive).
Okay, let’s review:
1) Remove outdated molding, paint entire wood surround (and walls)
2) Relocate sconces
3) Remove original bi-fold brass door and paint firebox black
4) Tile over brick and replace tile hearth with marble slab
Last up: Let the tile dry and finish the job with grout.
And here’s a side-by-side.
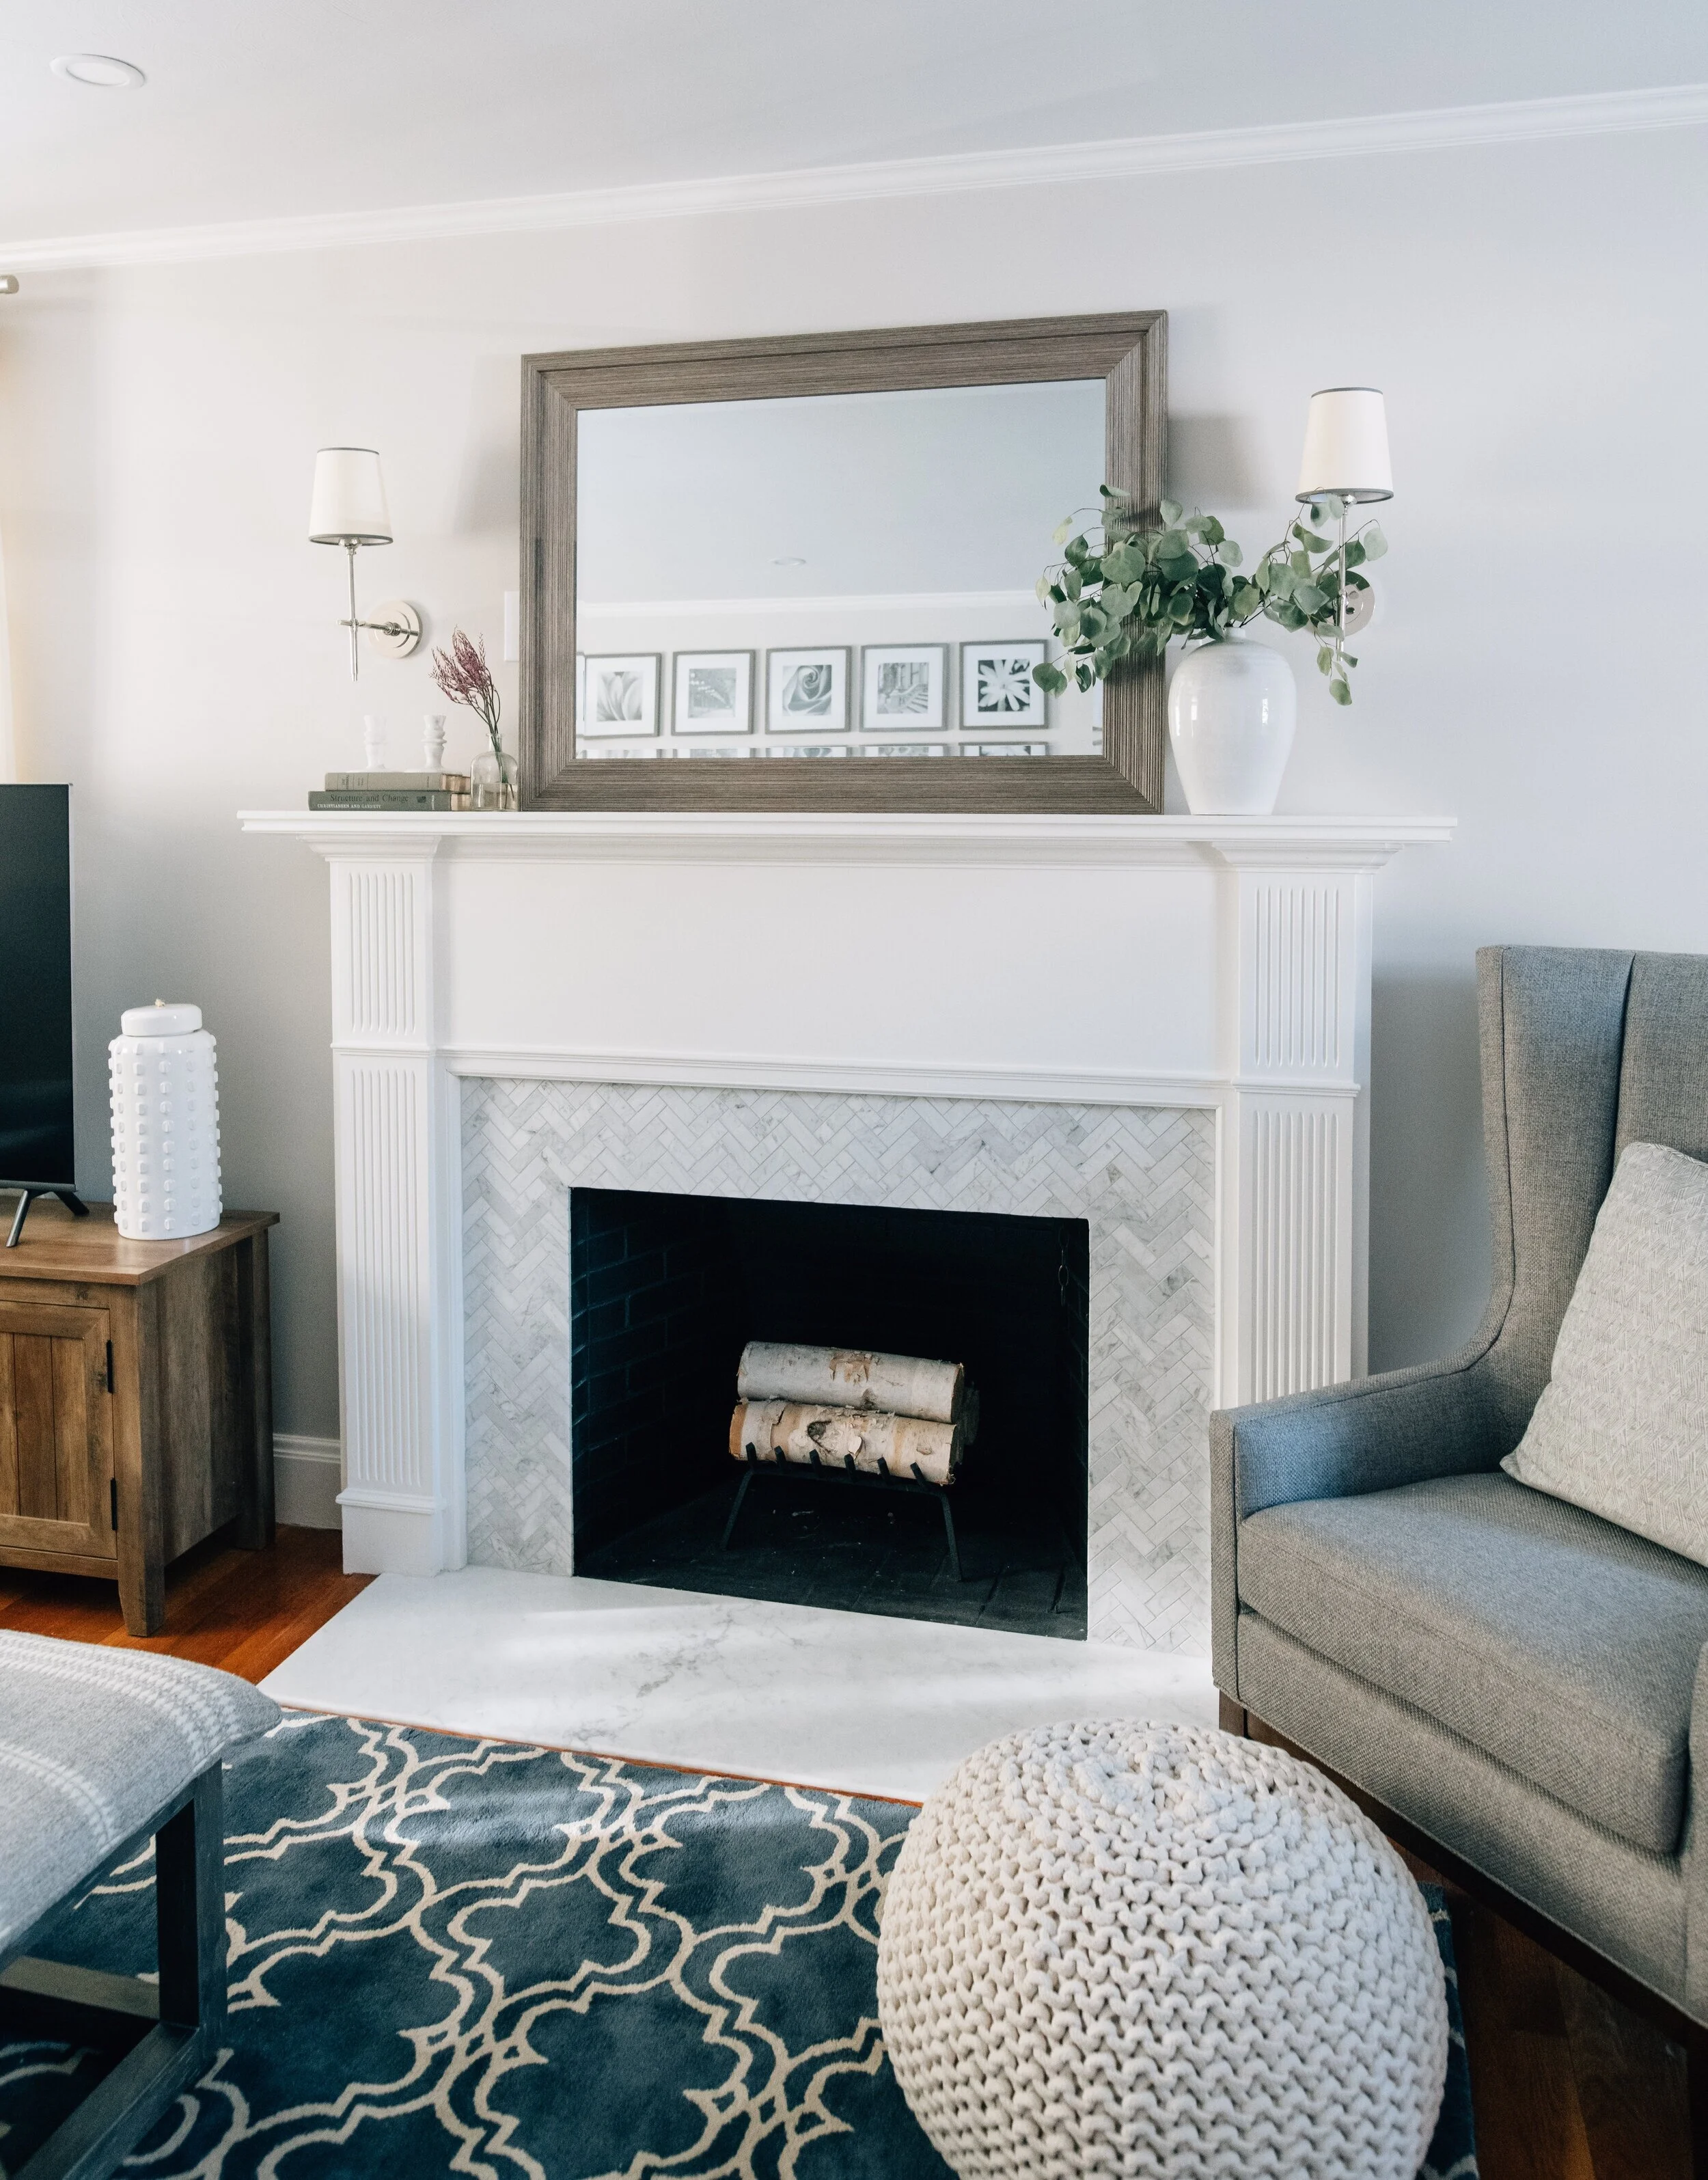
Add breathtaking sconces (donated by Light New England), a mirror and some decor. The transformation is complete!
Sources: Herringbone Tile Surround / Sconces / Rug / Pouf / Armchair / Similar Mirror
Another thank you to everyone who donated to this part of the project - Hanson Electric, Willow Carpentry, Big Dog Painting, Worcester Marble and Granite (marble hearth slab and fabrication), Light New England (sconces), and Wayfair (herringbone marble tile). Thanks to these donations, this whole shebang was nearly free. In case you’re interested in doing something similar, the actual cost of this transformation would be somewhere around $2,750 (including materials and labor).
We’ll be back soon with all the details on this amazing project.
- Leah
