2 Days 200 Dollars Challenge - Reveal
/First we made a plan. Then we got down to it. Today, we’re showing you the finished transformation from our 2 Days 200 Dollar Challenge.
Did you just freak out a little? I freak out every time I look at this picture. Then I peak into my “new” bathroom, maybe even walk in and gently open a drawer in my blue vanity, and freak out a lot more.
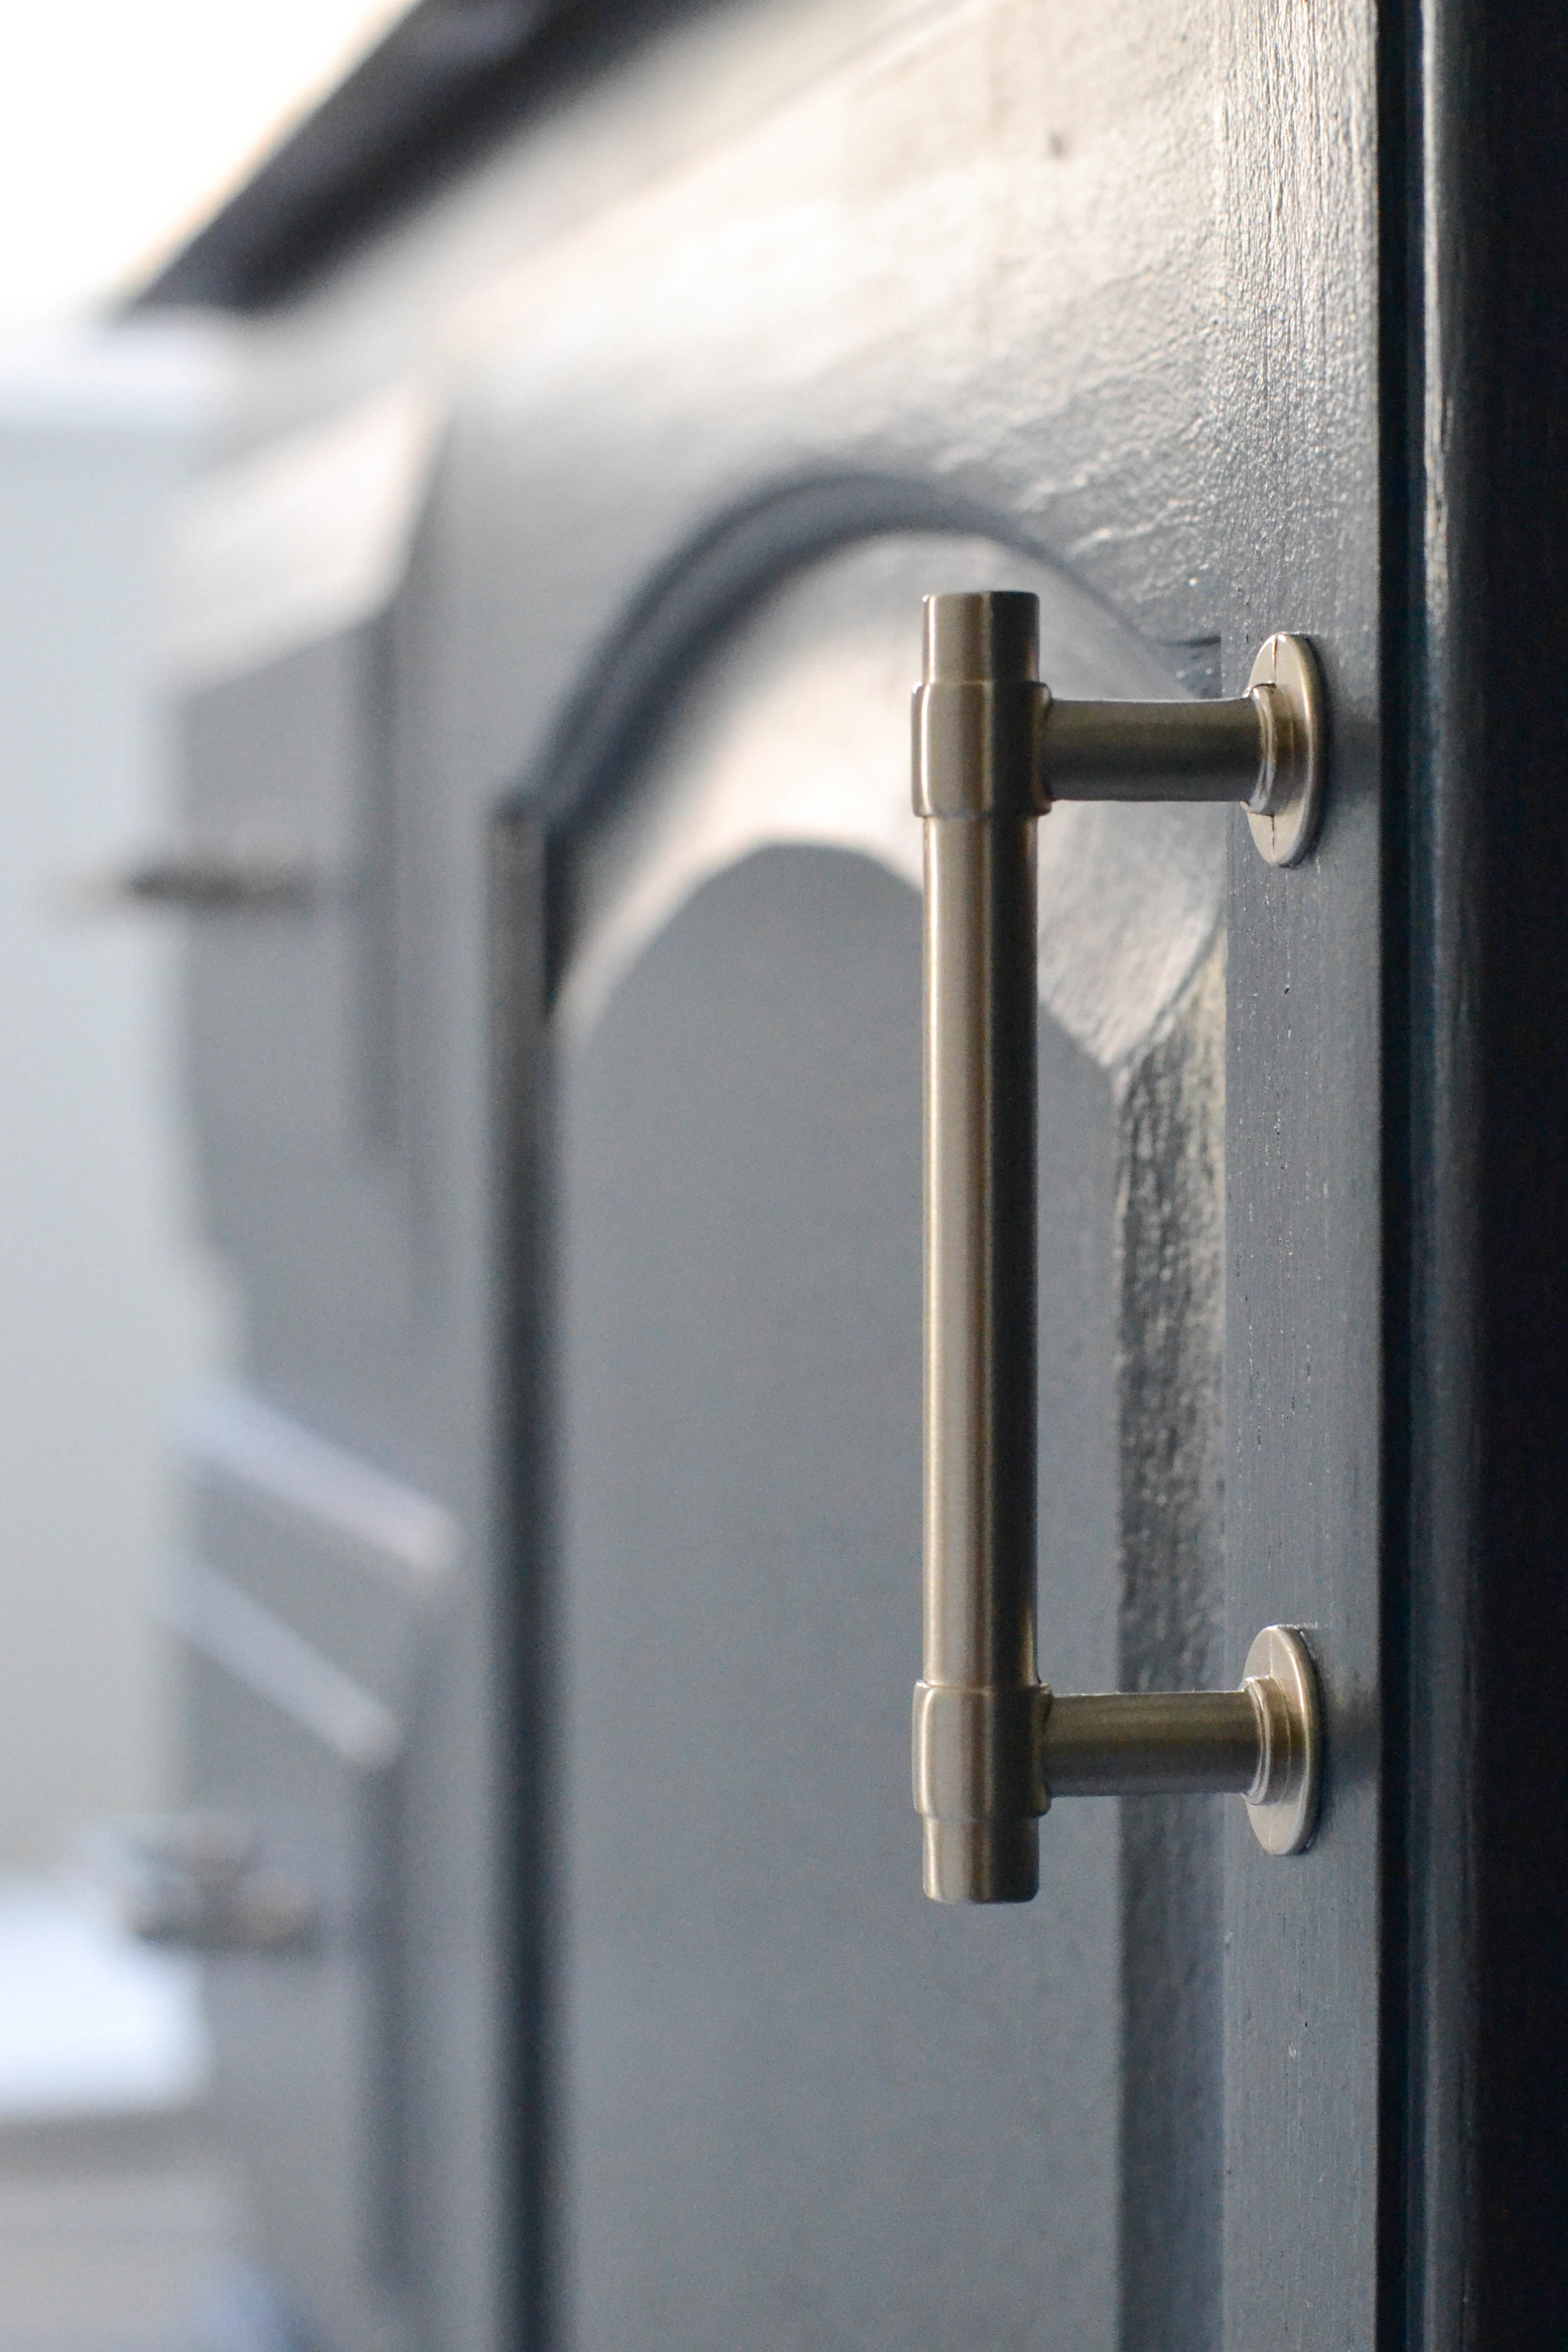
Let’s review how it all happened. After Day 1 of the 2 day challenge, nearly all the heavy lifting had been done - I updated the vertical blinds with a woven shade, primed and painted the vanity, and my husband installed a new vanity light. Day 2 was delayed by a few days while I waited for the vanity hardware to arrive, which was good because it gave the paint time to cure. Finally the pulls arrived…with the wrong screw size. They were too short, which is pretty common and easily remedied. So, I measured twice and then brought them with me to Lowes to buy longer screws.
With my new screws ready to go, I drilled a second hole in the cabinet because there was only one hole from the prior knob. Then a few minutes later all seven pulls were installed. Love them. And the price point is fantastic (I have a cost breakdown below).
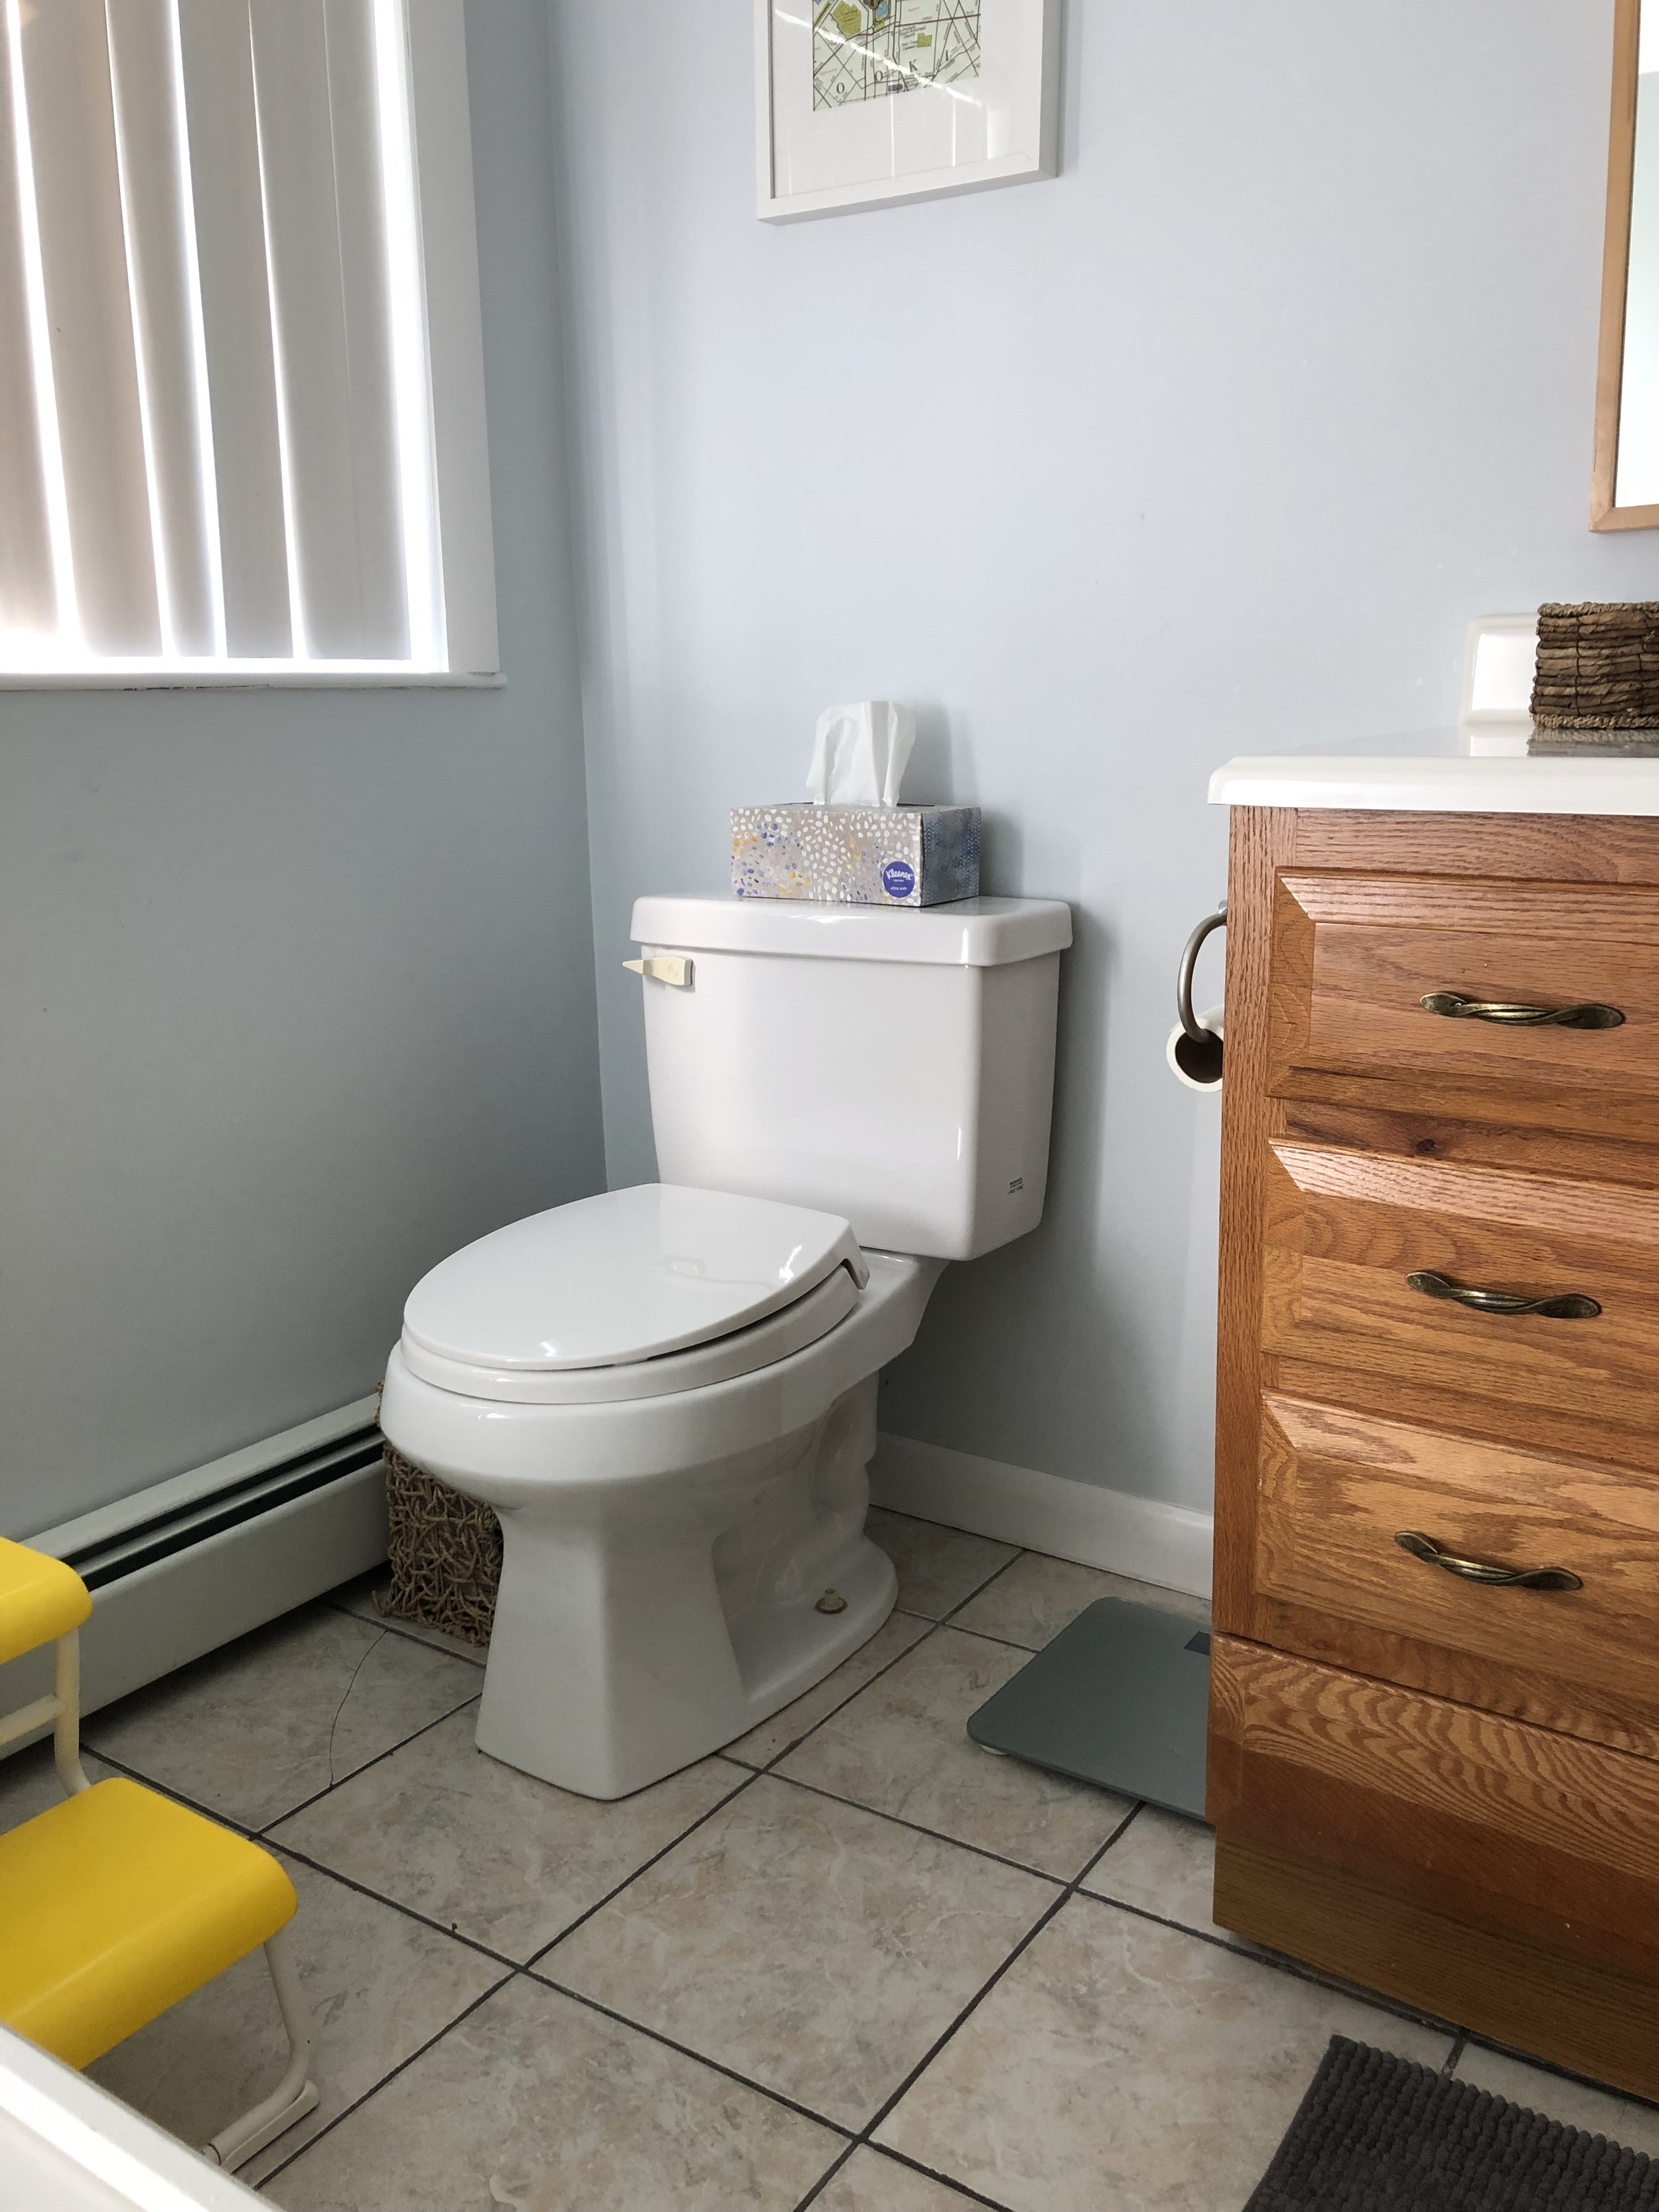
Then came the finishing touches. But before I get into those details, we need a side-by-side to remember what this looked like before we got started.
Isn’t it just awesome?
Okay, the decor details. I spent my whole budget (and a bit extra…more on that later) on the woven shade and new vanity light. Our plan was to focus on updating the window treatment and the vanity light because those were the elements of the room that made it feel especially outdated…and yucky. As we discussed in our post on the plan for this transformation, window treatments, light fixtures and rugs are truly the makers and breakers of any room.
Speaking of room maker, quick pause for a close up of the vanity light.
So, I had less than zero for my decor budget. The good news is that bathrooms don’t need much decor.
The most glaring issue I needed to address was the art above the toilet. It was way too high because a second frame under it had broken a while back and I never replaced it. First, I found a frame - I have a huge stockpile (doesn’t everyone???). Then it was a matter of finding the right art. I went to my tried and true place for free, awesome art - Pinterest. A quick search resulted in a set of two beautiful watercolors of succulents (here is the source).
Here’s a closeup of the blue. It’s simple and beautiful.
Below is another side-by-side before and after to see just how important it was to add another piece of art in that awkward space. I often put smaller frames above larger frames when I’m hanging a set, but the reverse is totally fine too. In this case, no need to hammer extra holes in the wall by moving things around. So the big guy went on the bottom.
The other decor came from shopping my house. A plant in a white pot is ideal decor for any room in any house. I have them all over. This guy just got relocated. My favorite acrylic tissue box got nabbed from my kids’ bathroom. The existing tray became the resting station for hand soap and a candle. And a big, white rug from my linen closet keeps it light and clean and, most importantly, covers that ugly floor tile!
And, there you have it. Here is the cost breakdown. And, yes, I’m a rule bender.
Total Spent on the Project - $243
Woven Shade - $87
Vanity Light - $138
Vanity Hardware - $18
Vanity Paint - Mysterious by Benjamin Moore
Wall Color Paint - Silver Cloud by Benjamin Moore
Mirror - from IKEA, no longer available
Next week, we’ll be back to our regularly scheduled program with a Wednesday Five.
- Leah
*This post contains affiliate links*


